CephNinja Terms & Conditions
Last updated: 2025-01-10
Please read these Terms of Use ("Terms", "Terms of Use") carefully before using the CephNinja mobile application (the "Service") operated by CephNinja ("us", "we", or "our").
Your access to and use of the Service is conditioned upon your acceptance of and compliance with these Terms. These Terms apply to all visitors, users and others who wish to access or use the Service.
By accessing or using the Service you agree to be bound by these Terms. If you disagree with any part of the terms, then you do not have permission to access the Service.
General
"Caution: Federal law restricts this device to sale by or on the order of a trained and licensed dental practitioner."
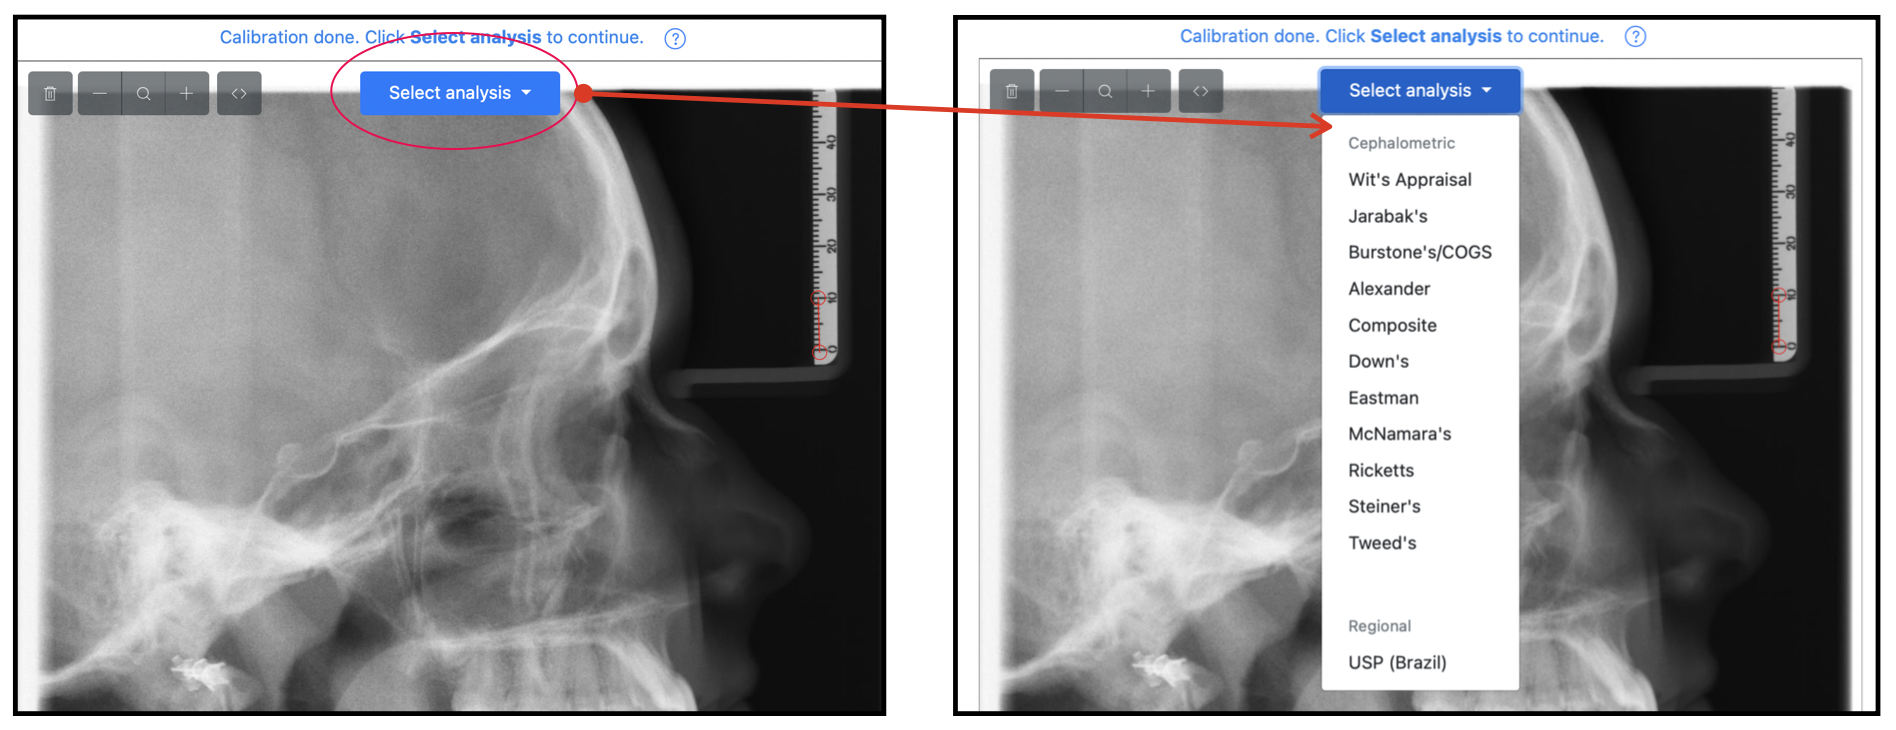
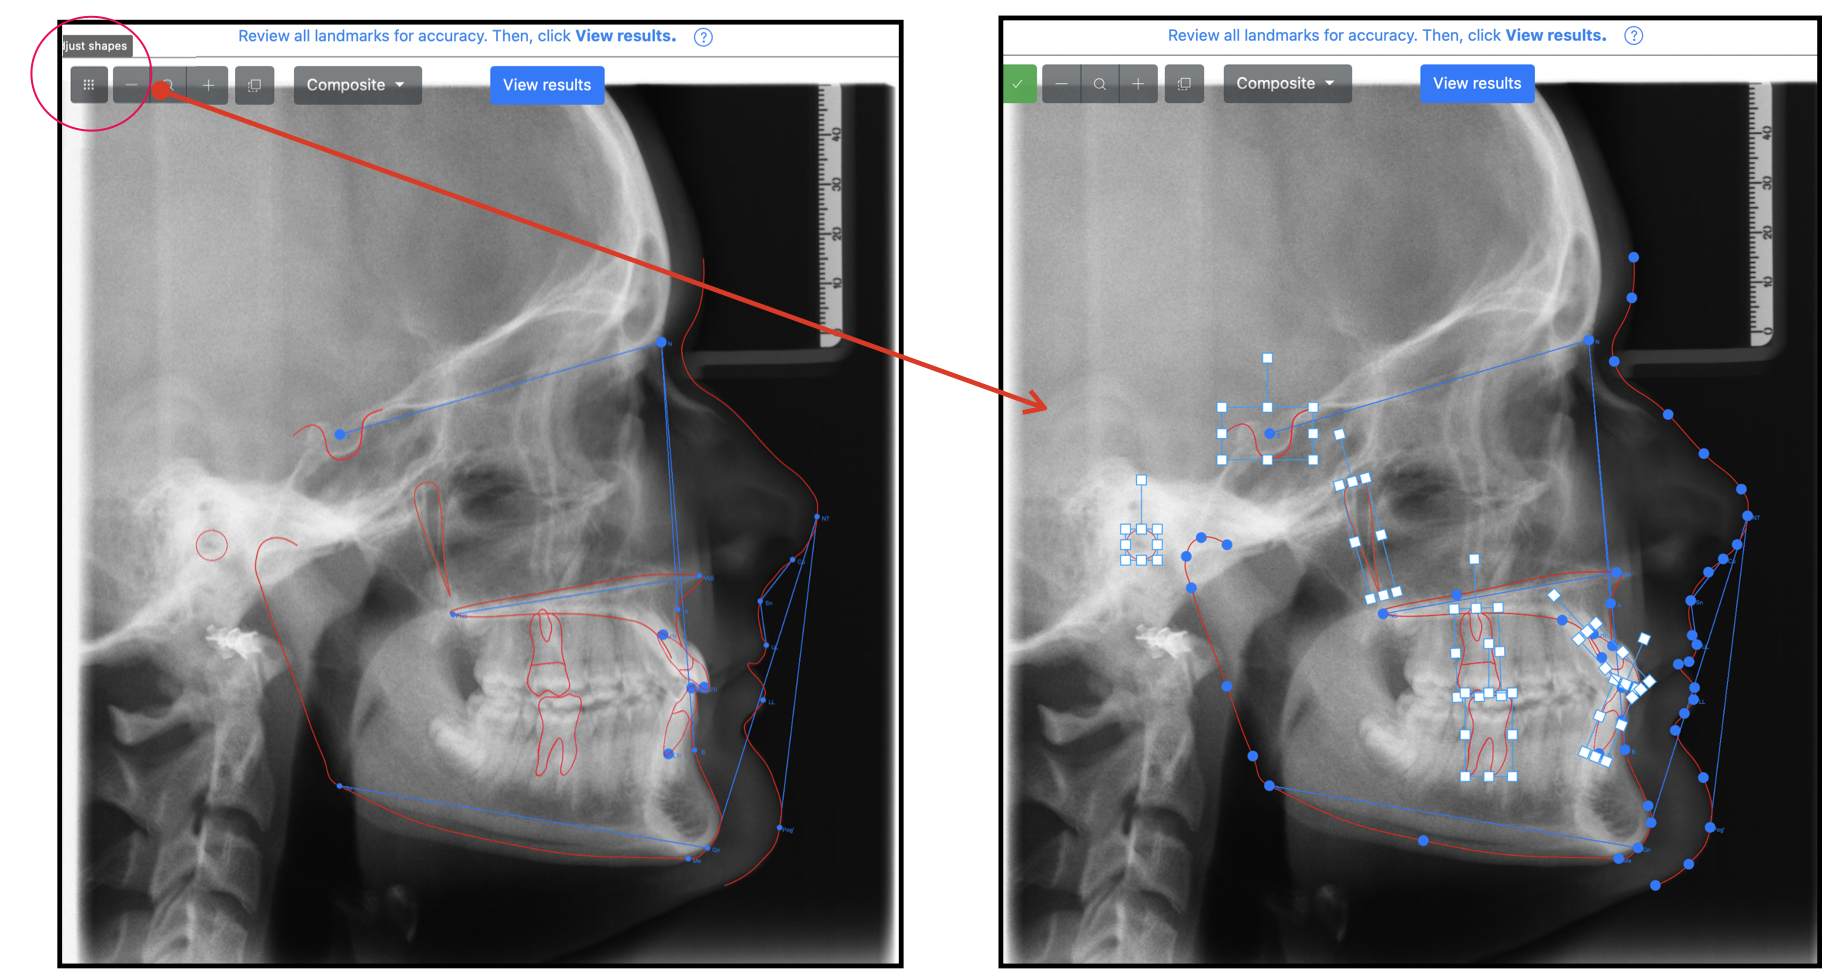
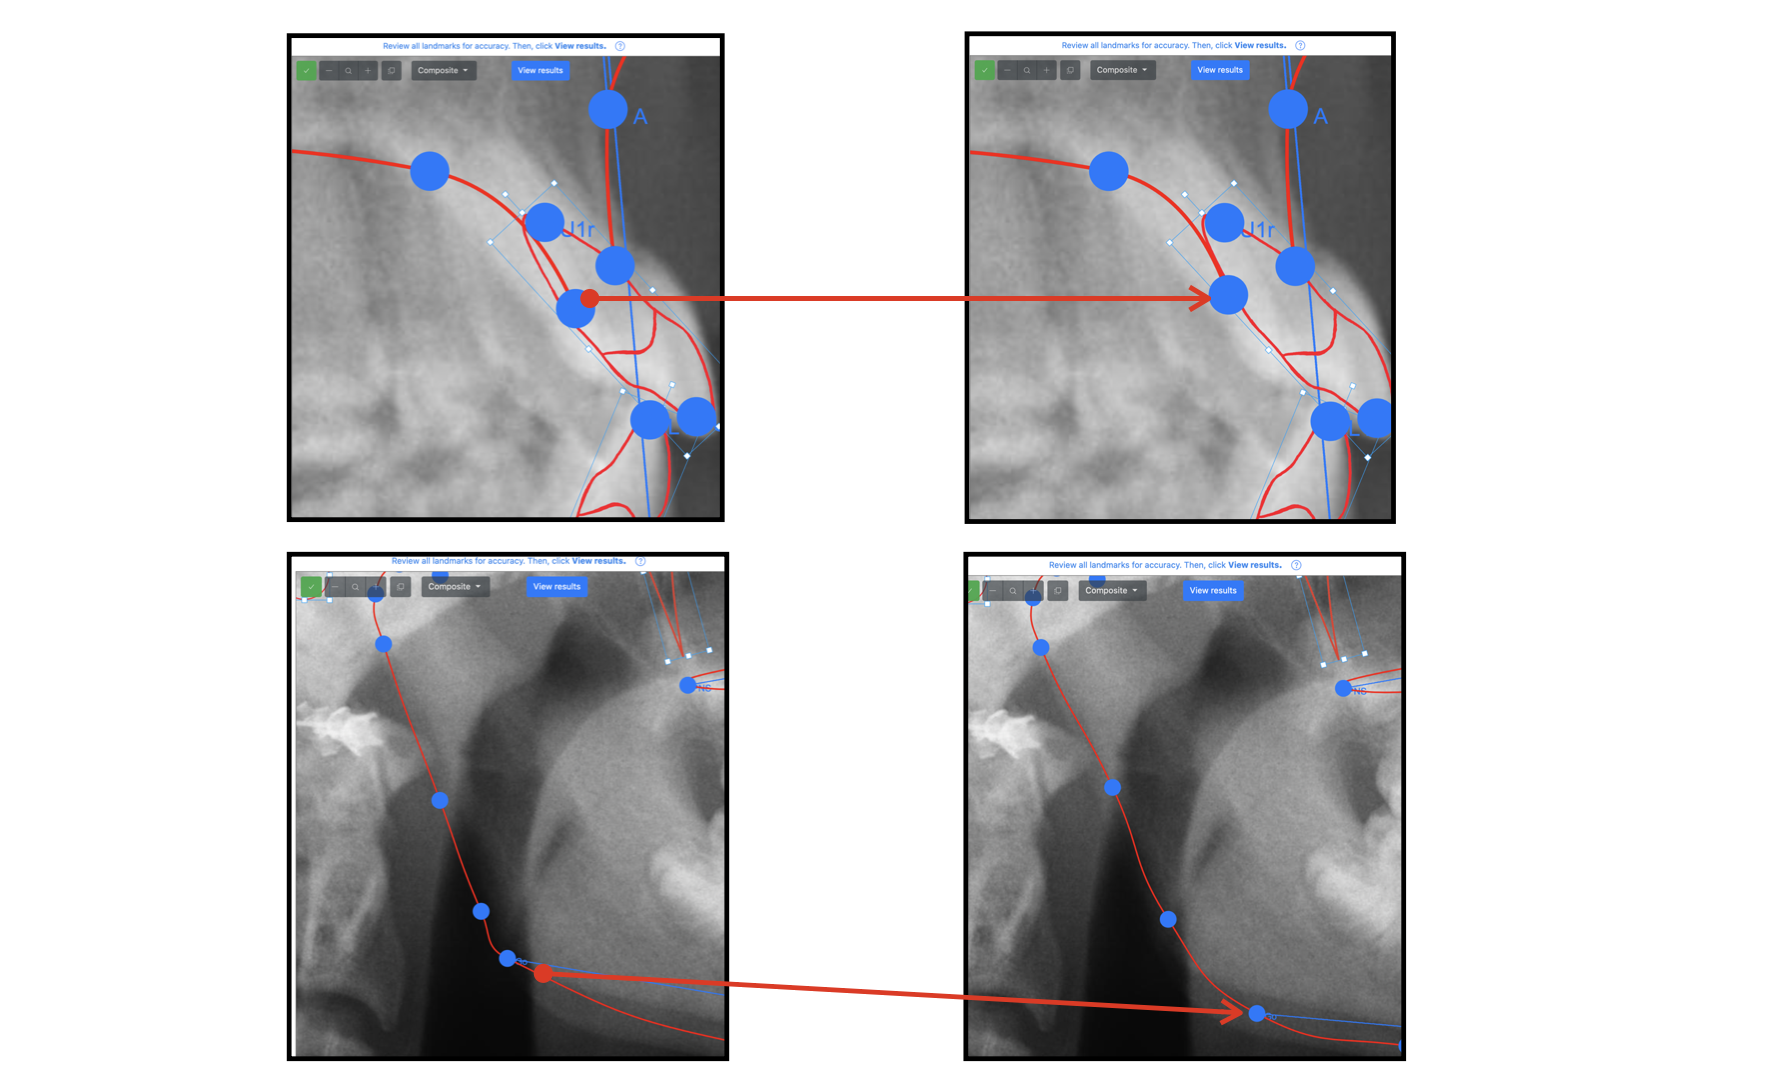
"Intended Use/Indications for Use: CephNinja software is designed for use by dental practices for cephalometric tracing and presenting patient images which are utilized by dental professionals to assist in treatment planning and case diagnosis. Results produced by the software's diagnostic and treatment planning tools must not be used independently of the interpretation of trained and licensed dental practitioners."
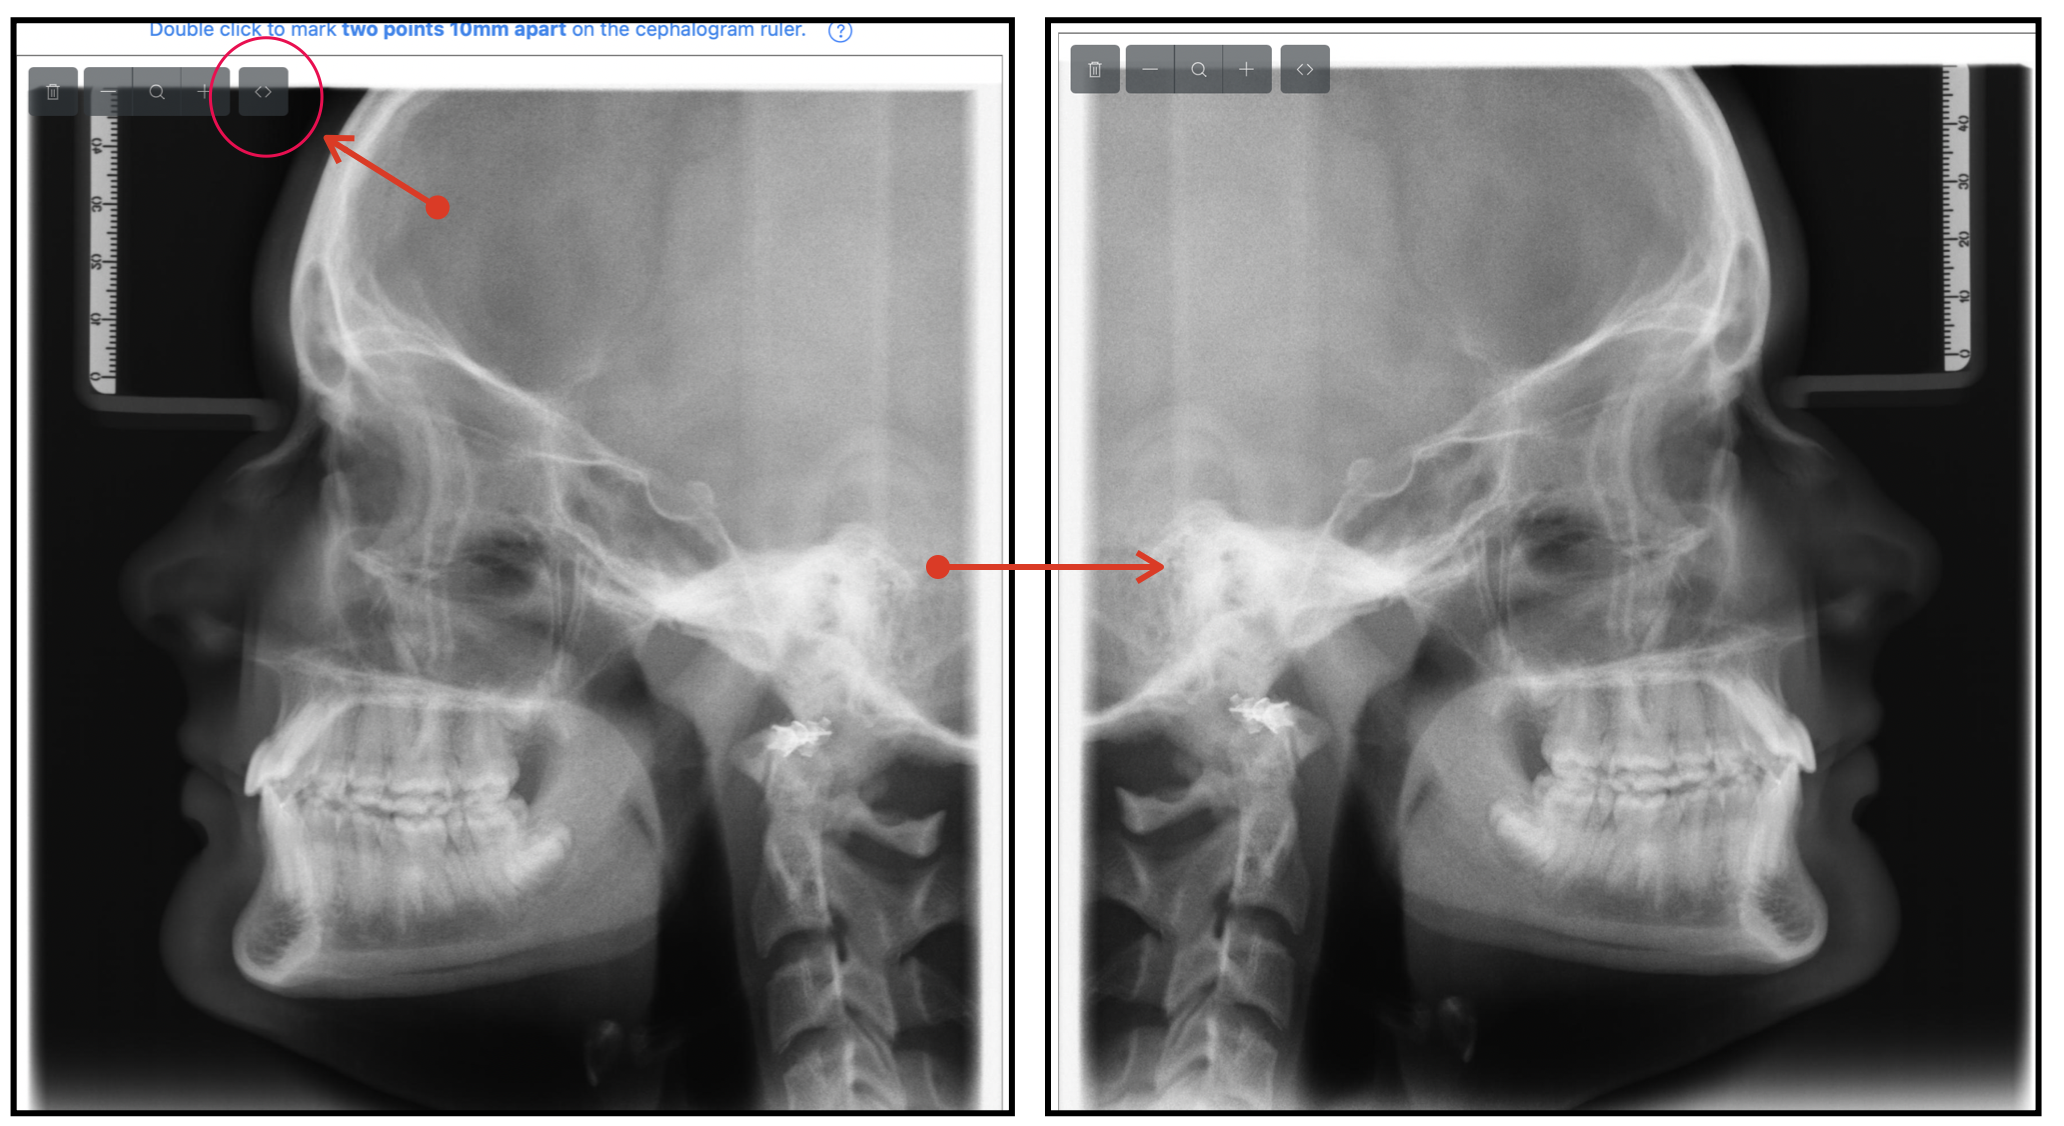
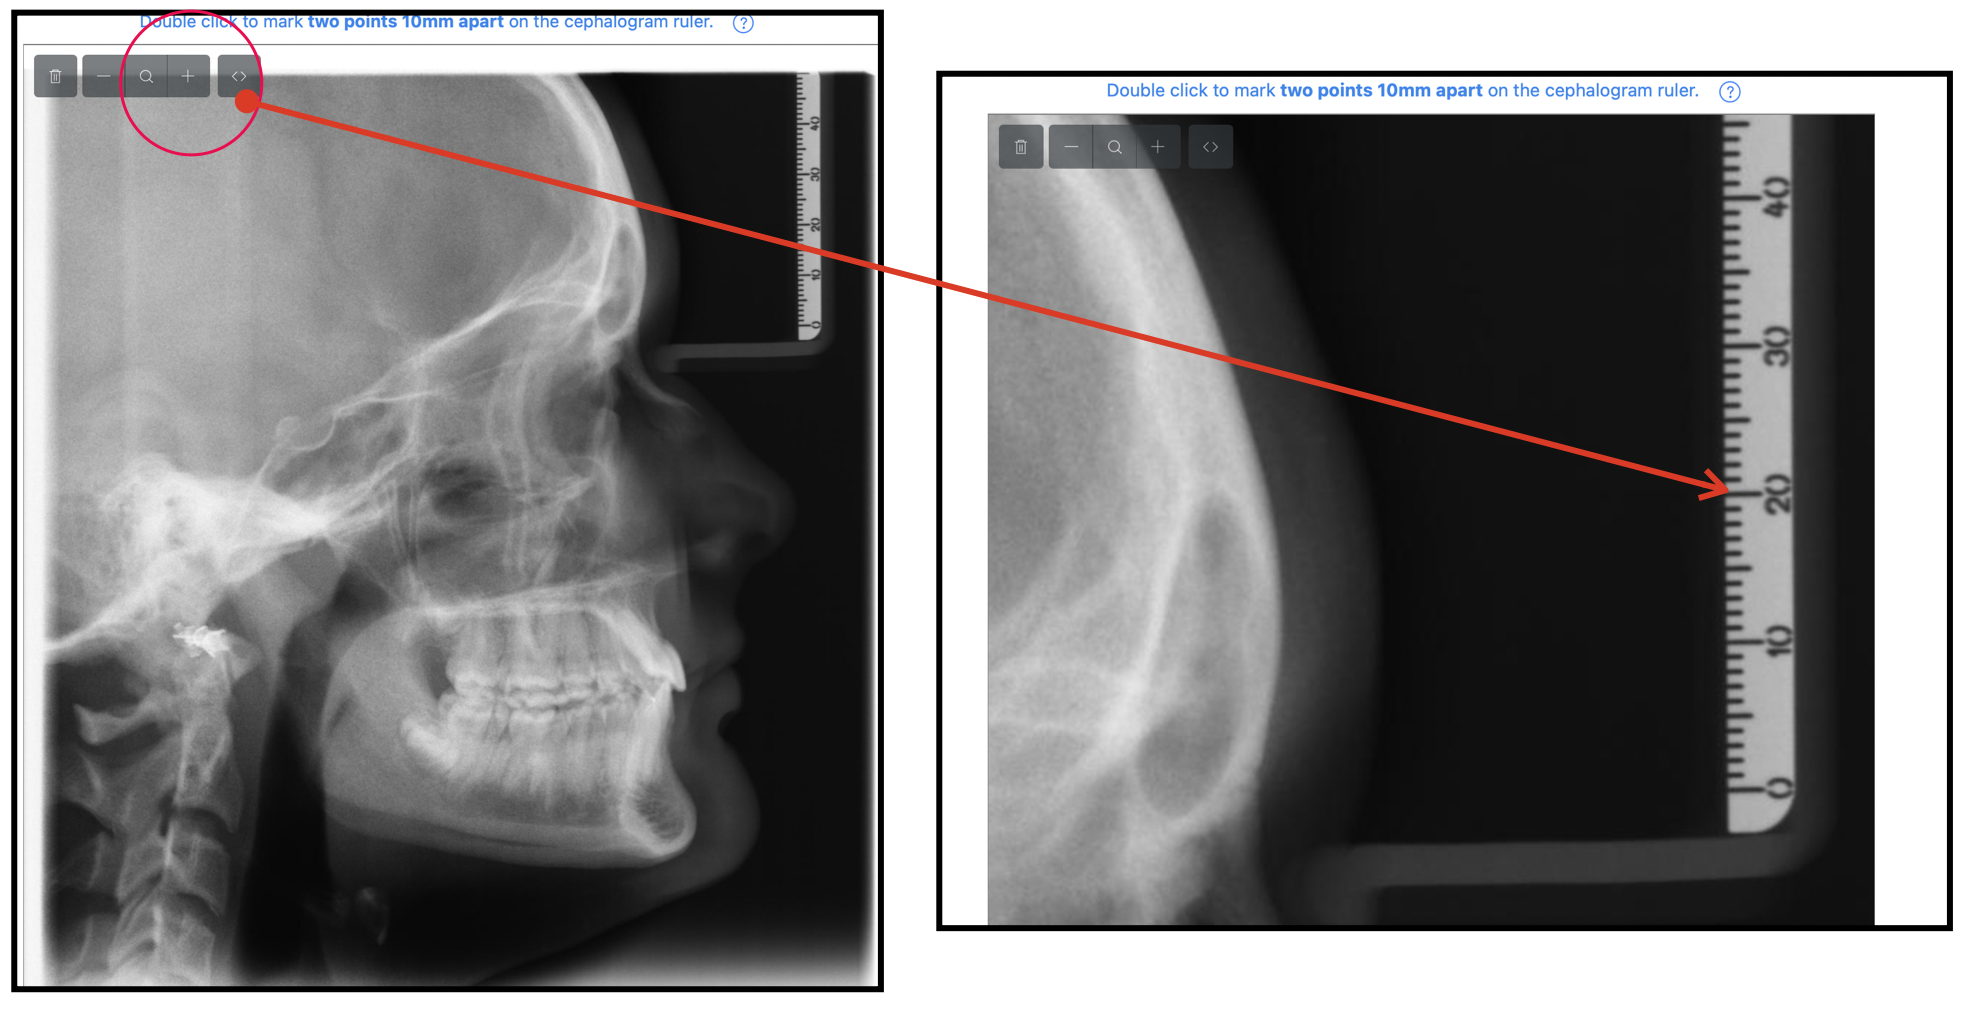
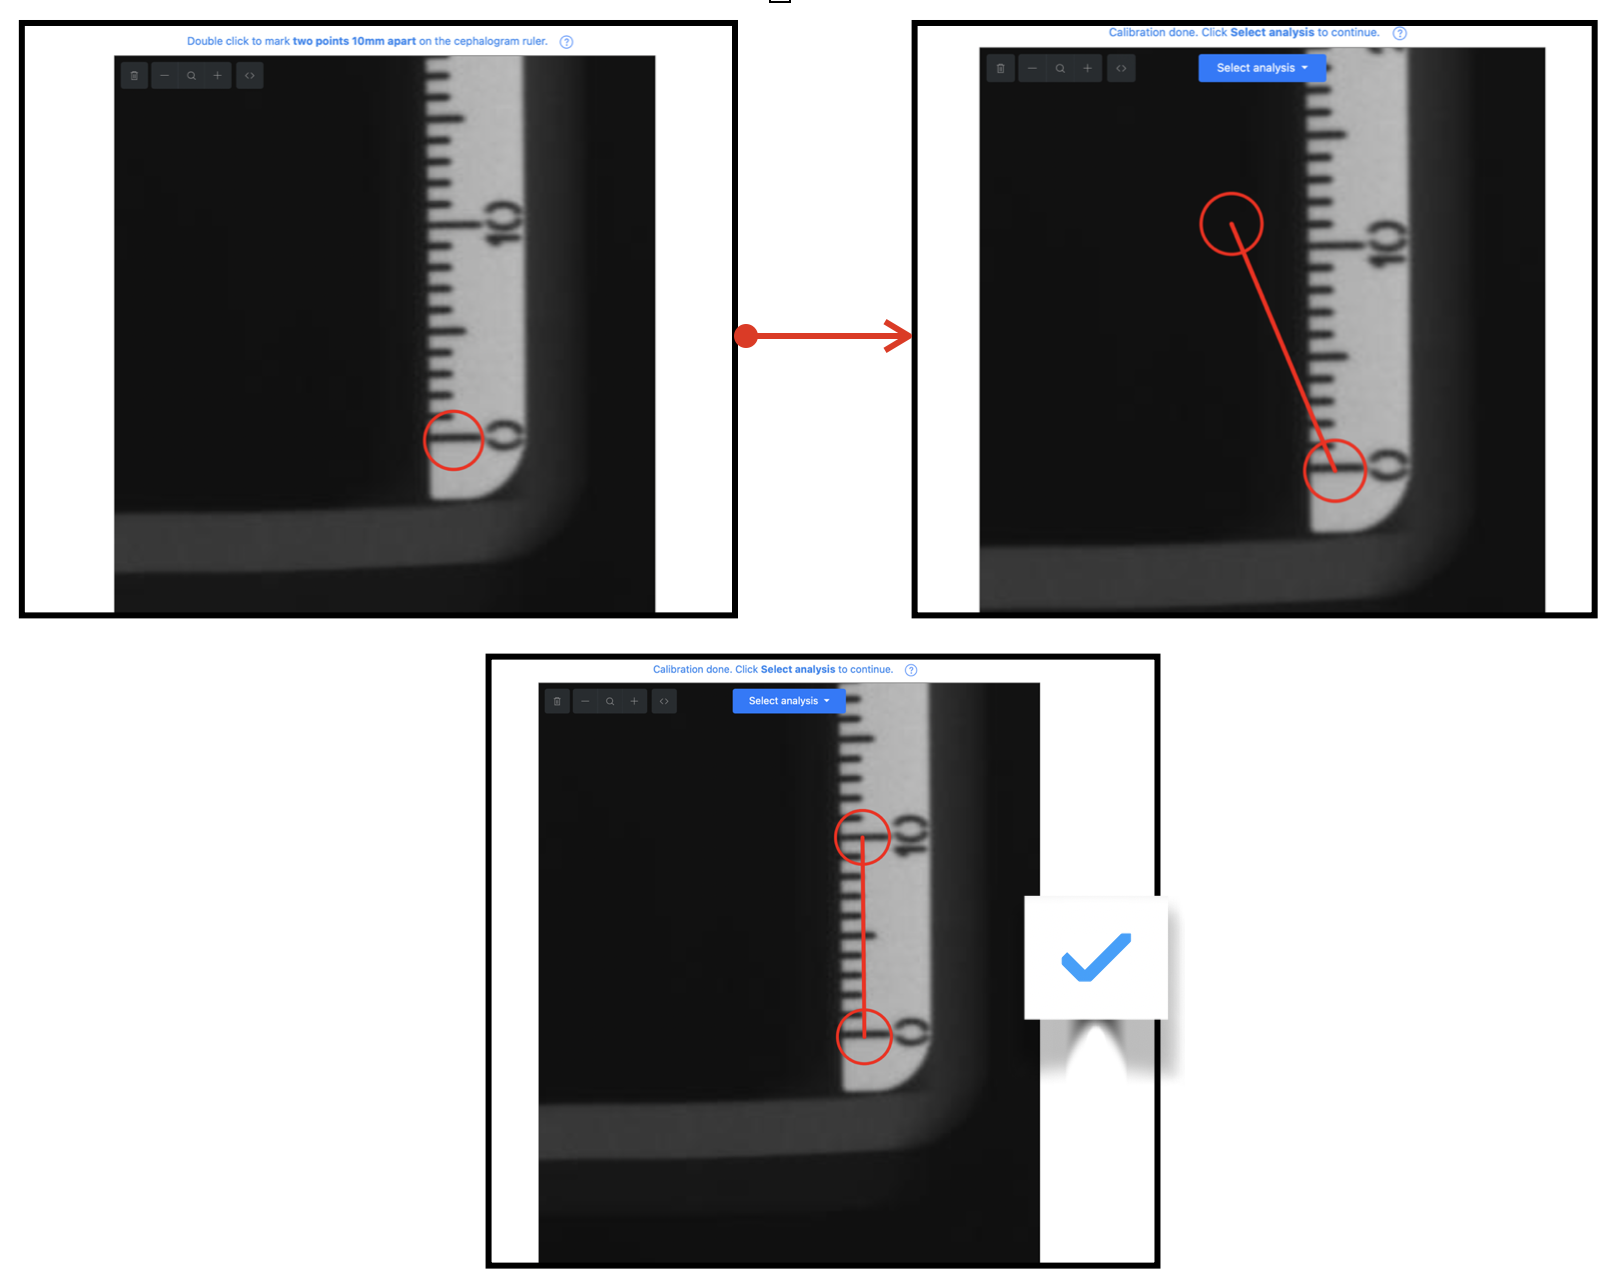
Information provided by CephNinja is intended to be used as an educational and reference tool to aid in productivity only and is not a substitute for professional medical advice or treatment. While every effort has been made to ensure the accuracy of the content, accuracy is not guaranteed. It is the responsibility of the user to confirm the accuracy of all its content. The user is advised to consult additional references before making any clinical decisions. Precautions: For accuracy of results , it is imperative that cephalograms be calibrated by using the CephNinja virtual ruler on the calibration page of the app.
If you are using the CephNinja app on behalf of a company, medical practice or other legal entity, you are nevertheless individually bound by this Agreement even if your company has a separate agreement with us. If you do want to become a CephNinja App User, do not conclude the Agreement, do NOT access, view, download or otherwise use any CephNinja app webpage, information or services. By downloading CephNinja you acknowledge that you have read and understood the terms and conditions of this Agreement and that you agree to be bound by all of its provisions. By downloading CephNinja you also consent to use electronic signatures and acknowledge your registration as one.
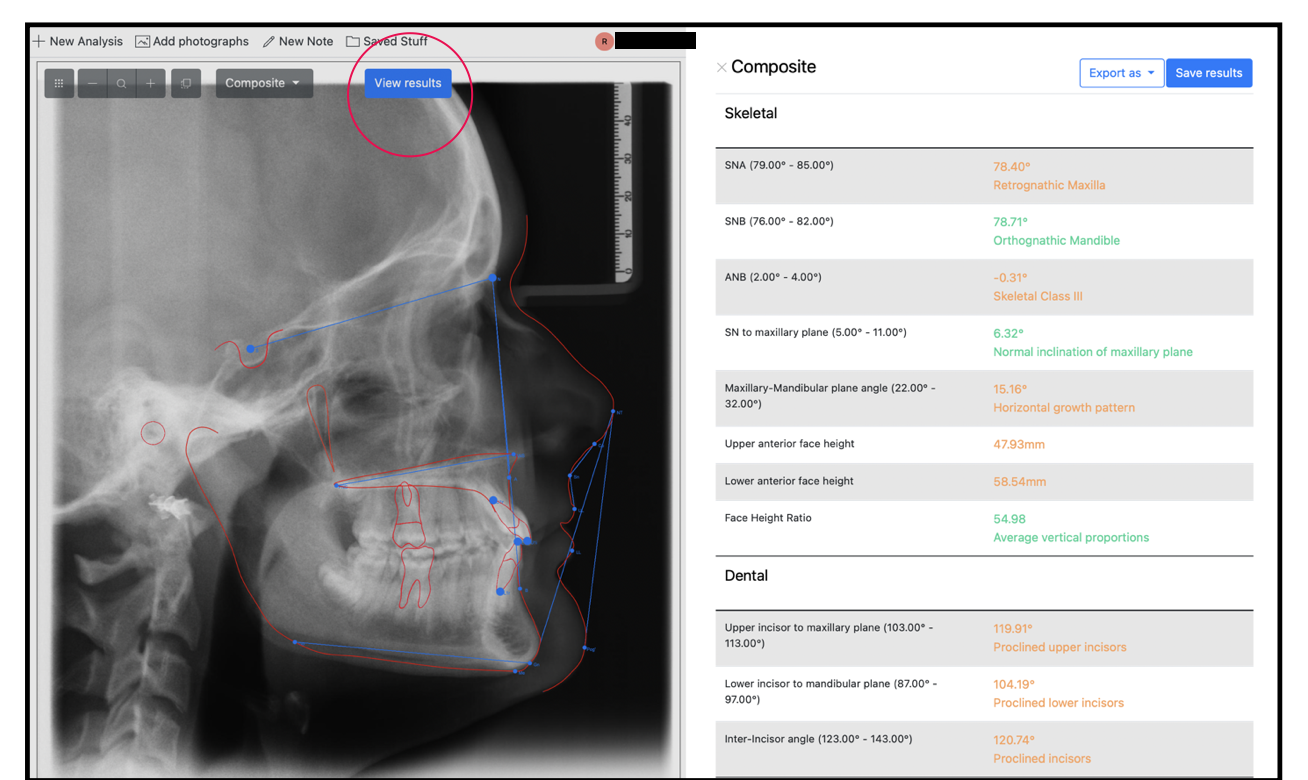
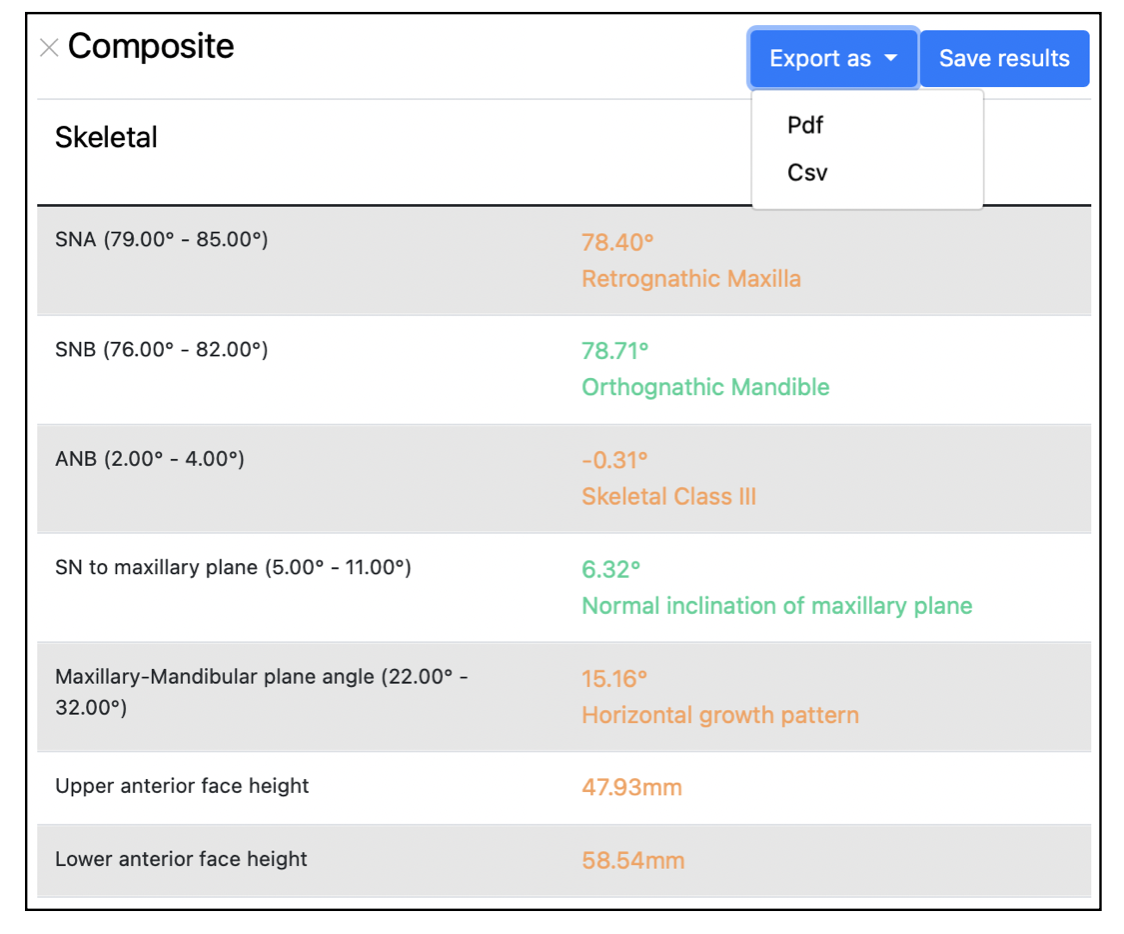
"Method of Use: The main CephNinja software functionality includes image visualization and cephalometric tracing and measurements. CephNinja is used by dental professionals for the visualization of patient images retrieved from a dental cephalometric imaging device scanner for assisting in case diagnosis, review, and treatment planning for orthodontic applications. If a suitable JPEG image (specifically, a lateral cephalometric x-ray) has been imported into the software, the software can be utilized to define a number of structures and landmarks to establish specific anatomical features. The positions of specific landmarks are used to render tracing lines and calculate measurements used in orthodontic treatment planning. The software operates on standard iPhone/iPad (minimum OS 9.0) hardware or on Mac/iMac (minimum OS Big Sur M1) hardware. When iMac hardware is used, images are displayed on the connected display/monitor."
Intellectual Property
The Service and its original content, features and functionality are and will remain the exclusive property of CephNinja and its licensors. The Service is protected by copyright, trademark, and other laws of both the United States and foreign countries. Our trademarks and trade dress may not be used in connection with any product or service without the prior written consent of CephNinja.
Links To Other Web Sites
Our Service may contain links to third party web sites or services that are not owned or controlled by CephNinja.
CephNinja has no control over, and assumes no responsibility for the content, privacy policies, or practices of any third party web sites or services. We do not warrant the offerings of any of these entities/individuals or their websites.
You acknowledge and agree that CephNinja shall not be responsible or liable, directly or indirectly, for any damage or loss caused or alleged to be caused by or in connection with use of or reliance on any such content, goods or services available on or through any such third party web sites or services.
We strongly advise you to read the terms and conditions and privacy policies of any third party web sites or services that you visit.
Termination
We may terminate or suspend your access to the Service immediately, without prior notice or liability, under our sole discretion, for any reason whatsoever and without limitation, including but not limited to a breach of the Terms.
All provisions of the Terms which by their nature should survive termination shall survive termination, including, without limitation, ownership provisions, warranty disclaimers, indemnity and limitations of liability.
Indemnification
You agree to defend, indemnify and hold harmless CephNinja and its licensee and licensors, and their employees, contractors, agents, officers and directors, from and against any and all claims, damages, obligations, losses, liabilities, costs or debt, and expenses (including but not limited to attorney's fees), resulting from or arising out of a) your use and access of the Service, or b) a breach of these Terms.
Limitation Of Liability
In no event shall CephNinja, nor its directors, employees, partners, agents, suppliers, or affiliates, be liable for any indirect, incidental, special, consequential or punitive damages, including without limitation, loss of profits, data, use, goodwill, or other intangible losses, resulting from (i) your access to or use of or inability to access or use the Service; (ii) any conduct or content of any third party on the Service; (iii) any content obtained from the Service; and (iv) unauthorized access, use or alteration of your transmissions or content, whether based on warranty, contract, tort (including negligence) or any other legal theory, whether or not we have been informed of the possibility of such damage, and even if a remedy set forth herein is found to have failed of its essential purpose.
Disclaimer
Your use of the Service is at your sole risk. The Service is provided on an "AS IS" and "AS AVAILABLE" basis. The Service is provided without warranties of any kind, whether express or implied, including, but not limited to, implied warranties of merchantability, fitness for a particular purpose, non-infringement or course of performance.
CephNinja its subsidiaries, affiliates, and its licensors do not warrant that a) the Service will function uninterrupted, secure or available at any particular time or location; b) any errors or defects will be corrected; c) the Service is free of viruses or other harmful components; or d) the results of using the Service will meet your requirements.
Exclusions
Some jurisdictions do not allow the exclusion of certain warranties or the exclusion or limitation of liability for consequential or incidental damages, so the limitations above may not apply to you.
Governing Law
These Terms shall be governed and construed in accordance with the laws of Washington, United States, without regard to its conflict of law provisions.
Our failure to enforce any right or provision of these Terms will not be considered a waiver of those rights. If any provision of these Terms is held to be invalid or unenforceable by a court, the remaining provisions of these Terms will remain in effect. These Terms constitute the entire agreement between us regarding our Service, and supersede and replace any prior agreements we might have had between us regarding the Service.
Changes
We reserve the right, at our sole discretion, to modify or replace these Terms at any time. If a revision is material we will provide at least 30 days notice prior to any new terms taking effect. What constitutes a material change will be determined at our sole discretion.
By continuing to access or use our Service after any revisions become effective, you agree to be bound by the revised terms. If you do not agree to the new terms, you are no longer authorized to use the Service.
Links to Other Sites
This Service may contain links to other sites. If you click on a third-party link, you will be directed to that site. Note that these external sites are not operated by us. Therefore, we strongly advise you to review the Privacy Policy of these websites. We have no control over and assume no responsibility for the content, privacy policies, or practices of any third-party sites or services.
Payments and Premium Services
The Services may be free or we may charge a fee for using the Services. If you are using a free version of the Services, we will notify you before any Services you are using then using begin carrying a fee, and if you wish to continue using such Services, you must pay all applicable fees for such Services. Note that if you elect to receive text messages through the Services, data and message rates may apply. Any and all such charges, fees or costs are your sole responsibility. You should consult with your wireless carrier to determine what rates, charges, fees or costs may apply to your use of the Services.
Paid Services
Certain of our Services, including access to CephNinja Pro, may be subject to payments now or in the future (the "Paid Services"). Please note that any payment terms presented to you in the process of using or signing up for a Paid Service are deemed part of these Terms.
Billing
We use a third-party payment processor (the "Payment Processor") to bill you through a payment account linked to your account on the Services (your "Billing Account") for use of the Paid Services. The processing of payments will be subject to the terms, conditions and privacy policies of the Payment Processor in addition to these Terms. We are not responsible for error by the Payment Processor. By choosing to use Paid Services, you agree to pay us, through the Payment Processor, all charges at the prices then in effect for any use of such Paid Services in accordance with the applicable payment terms and you authorize us, through the Payment Processor, to charge your chosen payment provider (your "Payment Method"). You agree to make payment using that selected Payment Method. We reserve the right to correct any errors or mistakes that the Payment Processor makes even if it has already requested or received payment.
Payment Method
The terms of your payment will be based on your Payment Method and may be determined by agreements between you and the financial institution, credit card issuer or other provider of your chosen Payment Method. If we, through the Payment Processor, do not receive payment from you, you agree to pay all amounts due on your Billing Account upon demand.
Recurring Billing
Some of the Paid Services may consist of an initial period, for which there is a one-time charge, followed by recurring period charges as agreed to by you. By choosing a recurring payment plan, you acknowledge that such Services have an initial and recurring payment feature and you accept responsibility for all recurring charges prior to cancellation. We may submit periodic charges (e.g., monthly) without further authorization from you, until you provide prior notice (receipt of which is confirmed by us) that you have terminated this authorization or wish to change your payment method. Such notice will not affect charges submitted before we reasonably could act. To terminate your authorization or change your payment method, go to the account settings on your device.
Auto-Renewal for Paid Services
Unless you opt out of auto-renewal, which can be done through your account settings, any Paid Services you have signed up for will be automatically extended for successive renewal periods of the same duration as the subscription term originally selected, at the then-current non-promotional rate. To change or resign your Paid Services at any time, go to account settings. If you terminate a Paid Service, you may use your subscription until the end of your then-current term and your subscription will not be renewed after your then-current term expires. However, you won't be eligible for a prorated refund of any portion of the subscription fee paid for the then-current subscription period. If you do not want to continue to be charged on a recurring monthly basis, you must cancel the applicable Paid Service through your account settings or terminate your Company account before the end of the recurring term. Paid Services cannot be terminated before the end of the period for which you have already paid, and except as expressly provided in these terms.
Free Trials and Other Promotions
Any free trial or other promotion that provides access to a Paid Service must be used within the specified time of the trial. You must stop using a Paid Service before the end of the trial period in order to avoid being charged for that Paid Service. If you cancel prior to the end of the trial period and are inadvertently charged for a Paid Service, please contactus at info@cephninja.com.
Changes to Terms and Conditions
We may update our Terms and Conditions from time to time. Thus, you are advised to review this page periodically for any changes. We will notify you of any changes by posting the new Terms and Conditions on this page. These changes are effective immediately after they are posted on this page.
We reserve the right, at our sole discretion, to modify or replace these Terms at any time. What constitutes a material change will be determined at our sole discretion.
By continuing to access or use our Service after any revisions become effective, you agree to be bound by the revised terms. If you do not agree to the new terms, you are no longer authorized to use the Service.
Contact Us
If you have any questions about these Terms, please contact us. info@cephninja.com